

3d Landscape Design App For Android
Use stills to create a dynamic 3D landscape
Camera mapping is an interesting and fun texturing method, and by using it you can construct a full 3D landscape from locked-off 2D shots. Our use of it in this tutorial is fairly limited, however refined application of the technique can be useful for many projects, such as those involving photo-real effects. In addition to creating the 3D basis for the landscape, we will also look at setting up a simple spline-based steady camera rig that provides some fairly complex movement with minimal key frames.
Cinema 4D's MoGraph module gets a look-in with an interesting combination of the Tracer Object and a particle emitter to add some excitement and realism. The techniques used here are relatively simple but were used in our own self-initiated intro sequences created at Art & Graft. Hopefully you will get some good ideas on how to take these skills further and put them to use on more complex jobs of your own.
Discover the best 3D movies of 2013 at our sister site, Creative Bloq.
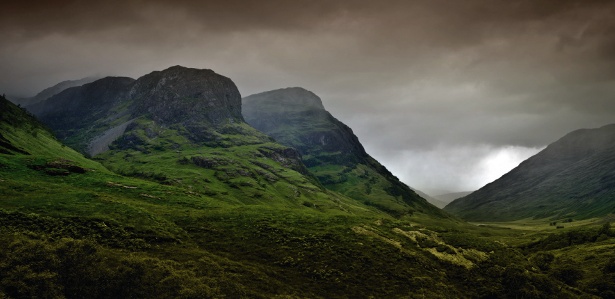
01 To build the 3D landscapes you need to start with some good 2D photographs to use as source material. When searching for landscapes, you're looking for some interesting shapes with varying slopes, and a good amount of distance between the foreground and background that you can travel over and move around.
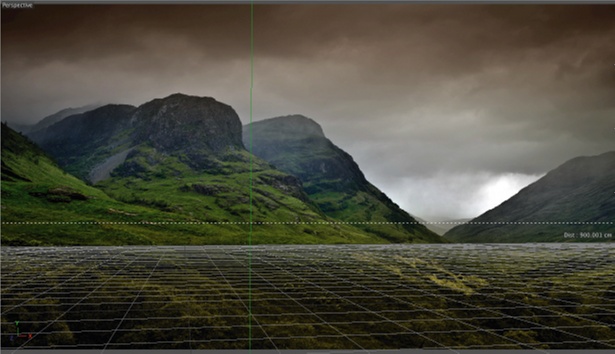
02 We're going to be building the geometry by eye using Cinema 4D. Start by applying the texture to a background object, and lining up the horizon and floor level as best you can. Absolute accuracy isn't the aim, but it's good to have consistency in the setup of scenes. Once it looks right, place a camera at the Viewport position. We'll use this to project the texture onto the geometry, so it's a good idea to lock it with a Protection tag.
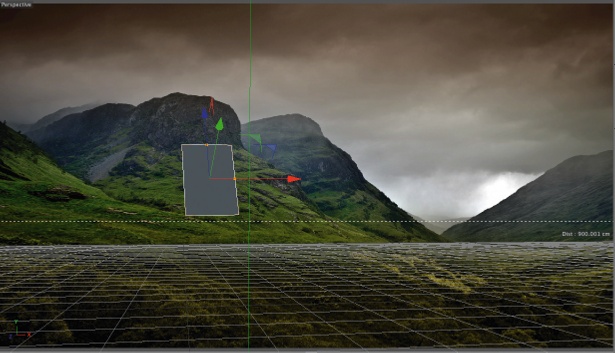
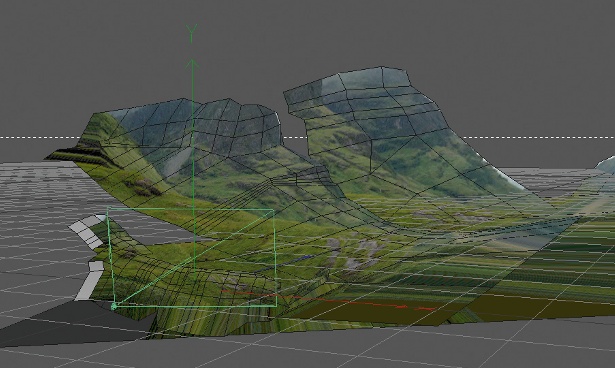
03 Find a prominent slope in the landscape and place a single plane object within your Viewport so that it matches its position and gradient. Take note of where it is in relation to the floor level you've chosen, and place it a good distance from the camera so that there is enough room to fit in the entire foreground of the photograph.
04 Apply your image texture to the plane using Camera mapping as the projection mode, and set the camera you made earlier as the source. Make sure the aspect ratio of the image is set up correctly in the texture tag as it will distort if not. Duplicate the first camera, name the new one 'View' and keyframe its position. We'll use this to check our progress in 3D from many angles. Keyframing makes sure that you can always go back to the original view.

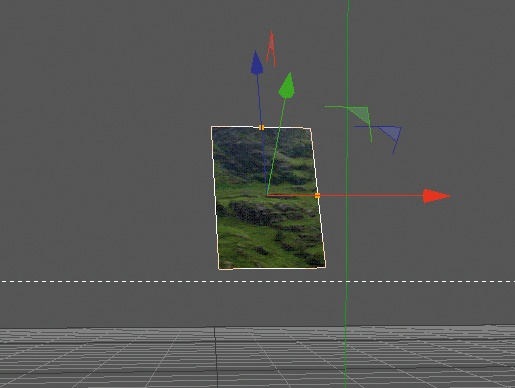
05 Using the Extrude tool to create new surfaces and Point mode to refine them, start to fill out the landscape around the original plane. This whole process is very approximate. To get a result that works, it's worth taking the time to really examine your landscape photo. Pay attention to how there are concave areas of the hills that go back into Z depth, and constantly question their relationship with the rest of the landscape.
06 Use your View camera to move away from the original viewpoint and make sure the landscape is working from different angles. Turn the background image off and on to check that the geometry works without the sky and surroundings. Use the camera to travel through the landscape and watch carefully how the different elements move together. Does it seem natural? If not, it's possible that some of your distances are wrong.
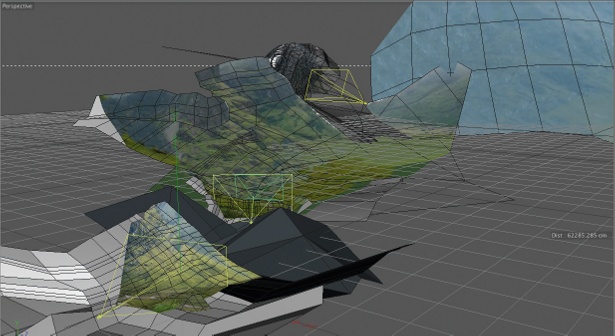
07 Create a number of landscape segments using other photos, and once you're satisfied combine them into one scene. Work on arranging them into a continuous landscape. Ideally you'll have put some thought into this when selecting the original images, and will already have in mind a sequence and journey through them. However they won't fit exactly and you're likely to have some big gaps. Don't worry, the style of this piece is as much about the negative space as it is the geometry.
Current page: Page 1
Next Page Page 2
Related articles
3d Landscape Design App For Android
Source: https://www.creativebloq.com/3d/use-stills-create-dynamic-3d-landscape-3137564
Posted by: dentonconly1969.blogspot.com
0 Response to "3d Landscape Design App For Android"
Post a Comment